

Create a team account
- Navigate to the Team page in the Runpod console.
- Click Convert to a Team Account. Enter a team display name (3 to 50 characters), check the acknowledgment checkbox, and click Convert to a Team Account to confirm.
A user can own only one team. Only the team owner can delete a team. To do so, scroll to the bottom of the Team page, click Delete Team, and confirm in the dialog. This reverts your account to a personal account. All members are removed and any pending invites are cancelled, but your resources remain unchanged.
Invite team members
Only admins can invite new members. Each invitation is tied to a specific email address and can only be accepted by the user with that address.- Navigate to the Team page in the Runpod console.
-
In the Members section, click Invite new member. Select a role, enter the member’s email address, and click Create Invite.
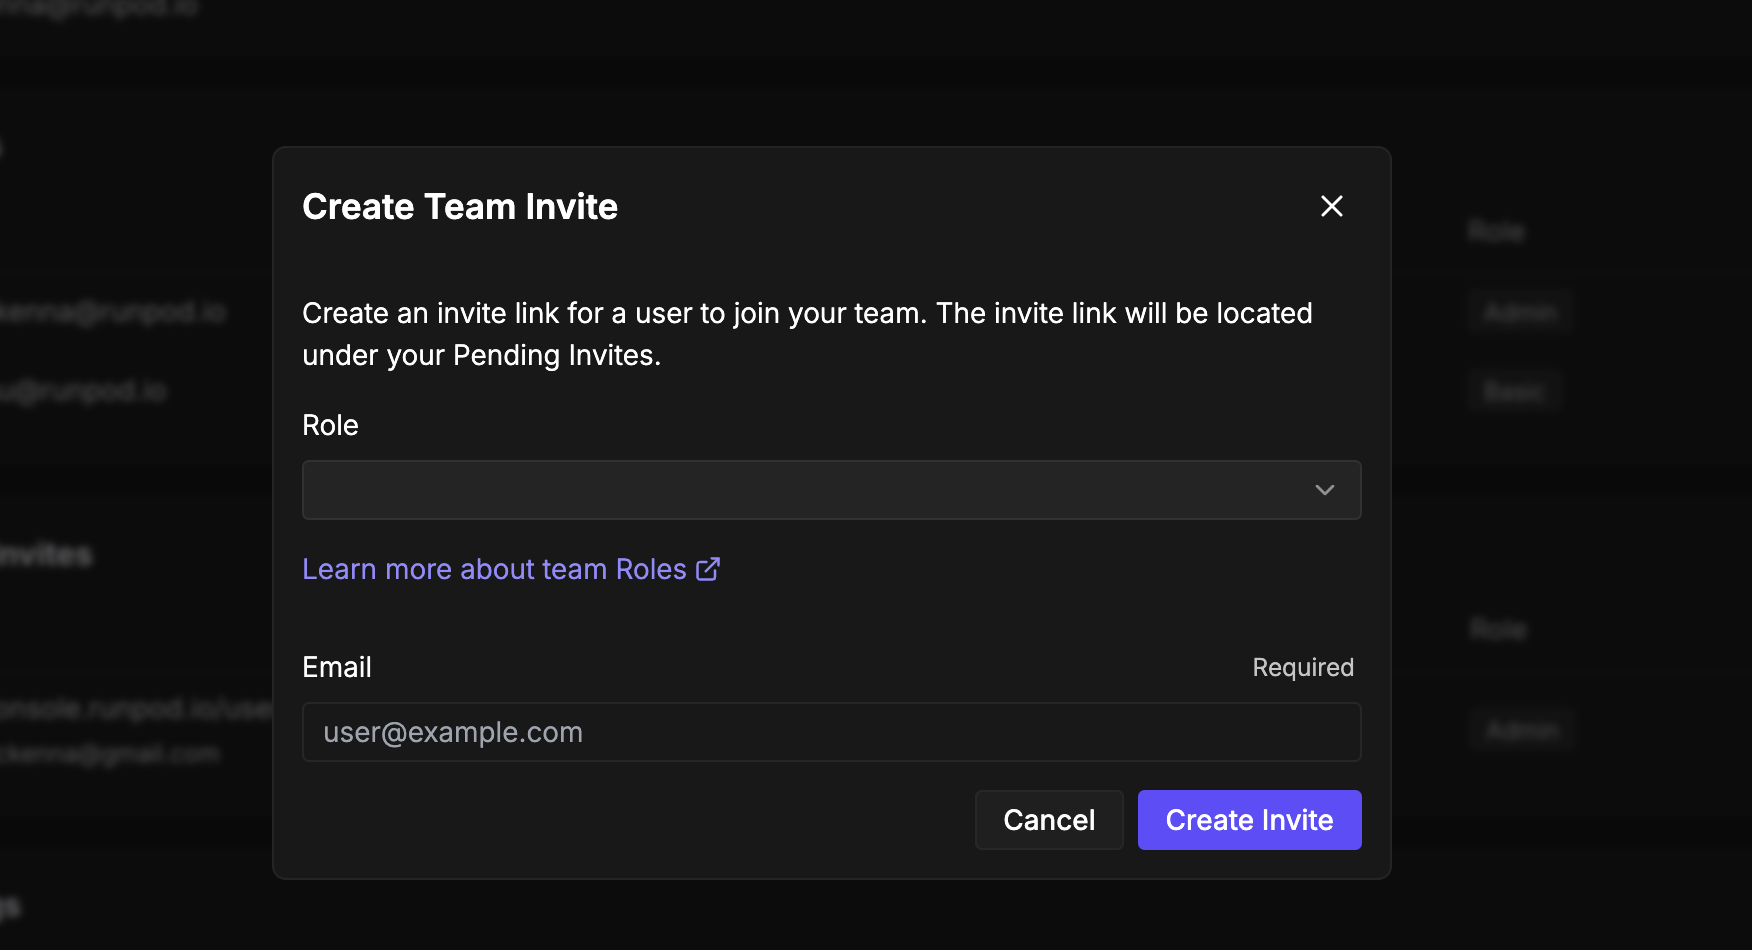
- The invitation link appears under Pending invites. Copy it and share it with the invitee, or they will receive an email with a direct link to accept.
role,email, one member per line, up to 300 per batch. A header row is detected automatically if its first column is role. Rows with errors are flagged in the preview and skipped. Click Send when done. The button shows the number of valid rows, for example Send 3 Invites.
Invitation links expire 3 days after they are created. They also become invalid once used or manually revoked.
Join a team
- Click the invitation link provided by the team admin.
- Select Join Team to accept.
Next steps
- Roles and permissions to understand what each role can access.
- Create API keys for programmatic access to Runpod services.
- Deploy a Pod to start using GPU resources.
- Set up Serverless endpoints for scalable AI inference.